
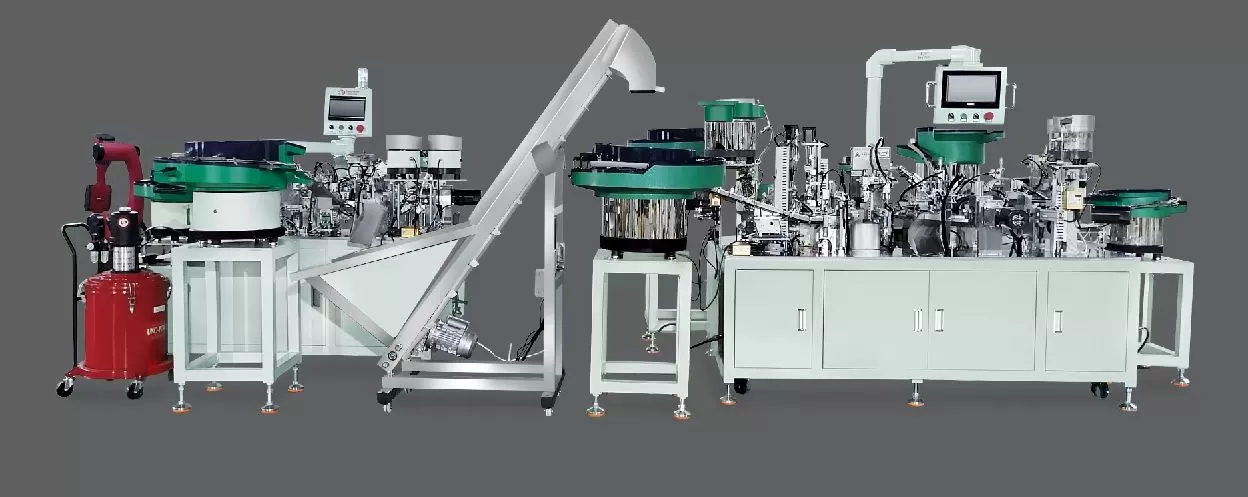
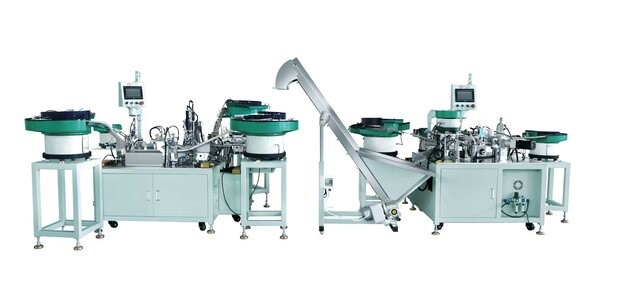
The debugging process for a Jieyang Hinge Automatic Assembly Machine is a critical phase to ensure consistent production, reduce downtime, and maintain product quality. This guide breaks down the key steps, combining technical precision with practical execution to address common operational issues effectively. By following this structured approach, technicians can diagnose and resolve problems, ensuring the machine operates at peak efficiency.
Step 1: Pre-Commissioning Inspection
Before powering on the machine, a thorough pre-commissioning inspection is essential. This includes checking the machine’s physical condition: verifying all components are securely mounted, no loose screws or damaged parts are present, and lubrication points are properly maintained. Additionally, confirm the power supply matches the machine’s requirements, and all safety interlocks (e.g., emergency stop buttons, door sensors) function correctly. This step lays the foundation for safe and accurate troubleshooting by ensuring the machine is in a stable initial state.
Step 2: Initial Functionality Check
Once pre-inspection is complete, perform basic functionality tests to assess the machine’s core operations. Start by running the machine in manual mode to test individual components: observe the movement of hinges, the activation of clamping mechanisms, and the response of sensors (e.g., position sensors, proximity switches). Pay close attention to any anomalies, such as unusual noises, excessive vibration, or delayed responses, as these often indicate misalignment, worn parts, or loose connections. Documenting these observations helps prioritize subsequent troubleshooting efforts.
Step 3: Troubleshooting Common Mechanical Issues
Mechanical problems are among the most frequent causes of assembly machine malfunctions. Common issues include jamming during hinge feeding, misalignment in the assembly station, or inconsistent clamping force. For jamming, inspect the feeding track for blockages and adjust the guide rails to ensure hinges move freely. If misalignment occurs, reposition the assembly fixture and check the positioning accuracy using a dial indicator. For clamping force issues, verify the pressure settings on the pneumatic system and replace worn seals if necessary. Systematic testing of each component helps isolate the root cause efficiently.
Step 4: Parameter Calibration and Software Alignment
Incorrect parameters or software misconfigurations can lead to performance discrepancies. Access the machine’s control system (typically a PLC) to review and adjust critical parameters, such as assembly speed, positioning tolerance, and sensor sensitivity. For example, if the machine produces hinges with inconsistent gaps, recalibrate the positioning sensors to ensure precise alignment. Additionally, check for software updates or patches that may resolve known issues, ensuring the control system operates with the latest firmware. This step ensures the machine adheres to the required production standards.
Step 5: Performance and Reliability Testing
After resolving identified issues, conduct rigorous performance testing to validate the machine’s functionality. Run the machine in automatic mode for an extended period (e.g., 2-4 hours) to simulate real-world production conditions. Monitor key metrics, including assembly accuracy, cycle time, and error rates. If the machine operates smoothly, perform load testing by simulating maximum production volume to assess stability under stress. This phase ensures the machine can maintain consistent performance over time, a critical factor for long-term production efficiency.
Step 6: Post-Commissioning Documentation and Support
Finally, document all debugging steps, including issues encountered, solutions implemented, and parameter adjustments. This record aids future maintenance and training. Provide on-site training to the production team on basic operation and routine checks, empowering them to identify minor issues early. Sanyhore, a professional manufacturer of hinge assembly machines, telescopic drawer slide assembly machines, and roll forming machines, offers ongoing support. Our team is available to assist with any post-commissioning questions, ensuring your machine continues to deliver optimal results.
FAQ: Common Questions About Hinge Automatic Assembly Machine Debugging
Q: How do I quickly identify jamming issues in the assembly machine?
A: Monitor for unusual sounds, sudden slowdowns, or parts accumulating at specific stations. Visual inspection of the feeding track and clamping mechanism often reveals blockages or misalignment.
Q: What tools are necessary for debugging?
A: Essential tools include a multimeter (for electrical checks), dial indicator (for precision measurement), torque wrench (for securing components), and calibration tools (e.g., sensor testers).
Q: How often should debugging be performed?
A: Conduct pre-operation checks daily, and in-depth debugging after production interruptions or component replacements. Regular maintenance, as recommended by the manufacturer, further reduces the need for extensive troubleshooting.
For inquiries about hinge assembly machine debugging, troubleshooting support, or purchasing our equipment, contact Sanyhore’s sales manager at +86 13425506550 or email info@sanyhore.com. As a trusted manufacturer, we provide tailored solutions to meet your production needs.